CONFOCAL LASER MICROSCOPE (LSM)
DOWNLOAD REQUEST FORM HERE
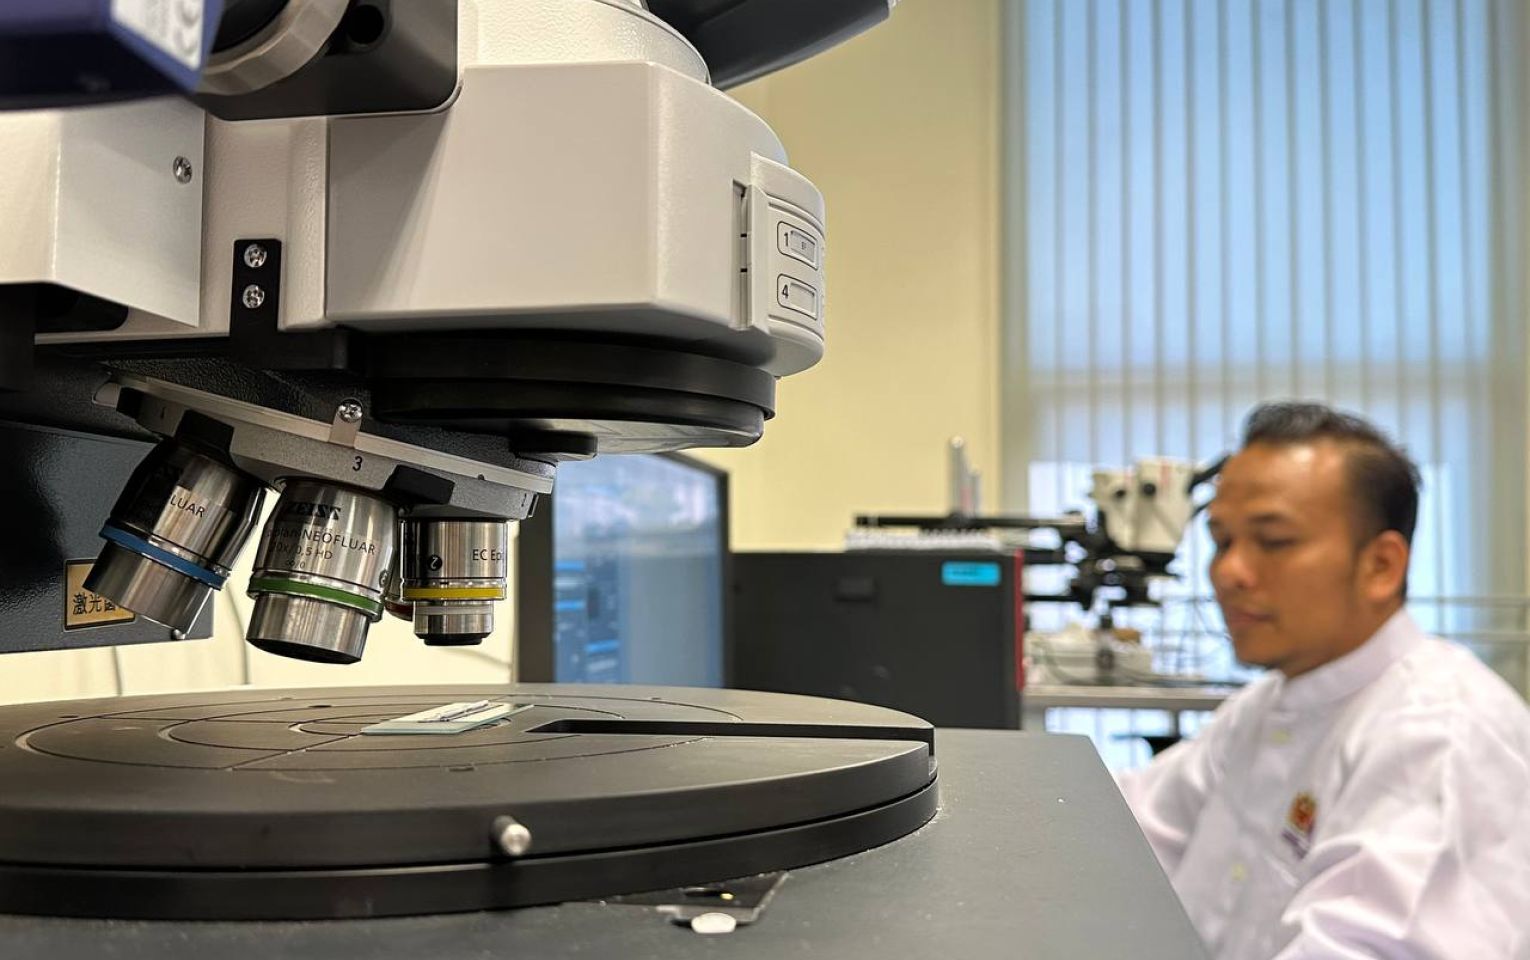
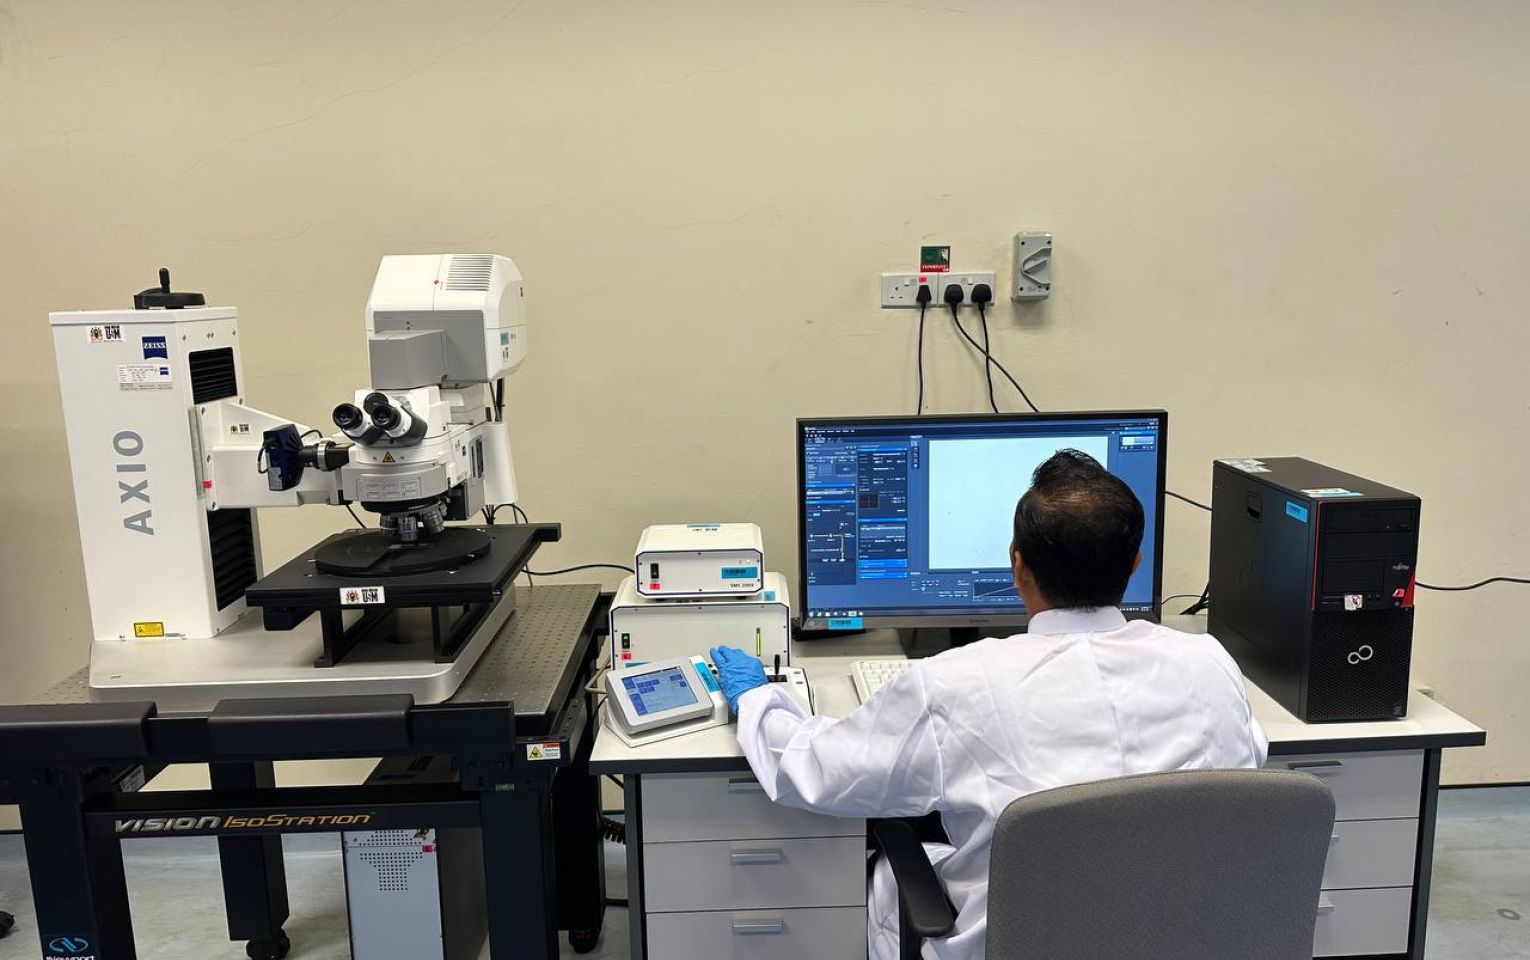
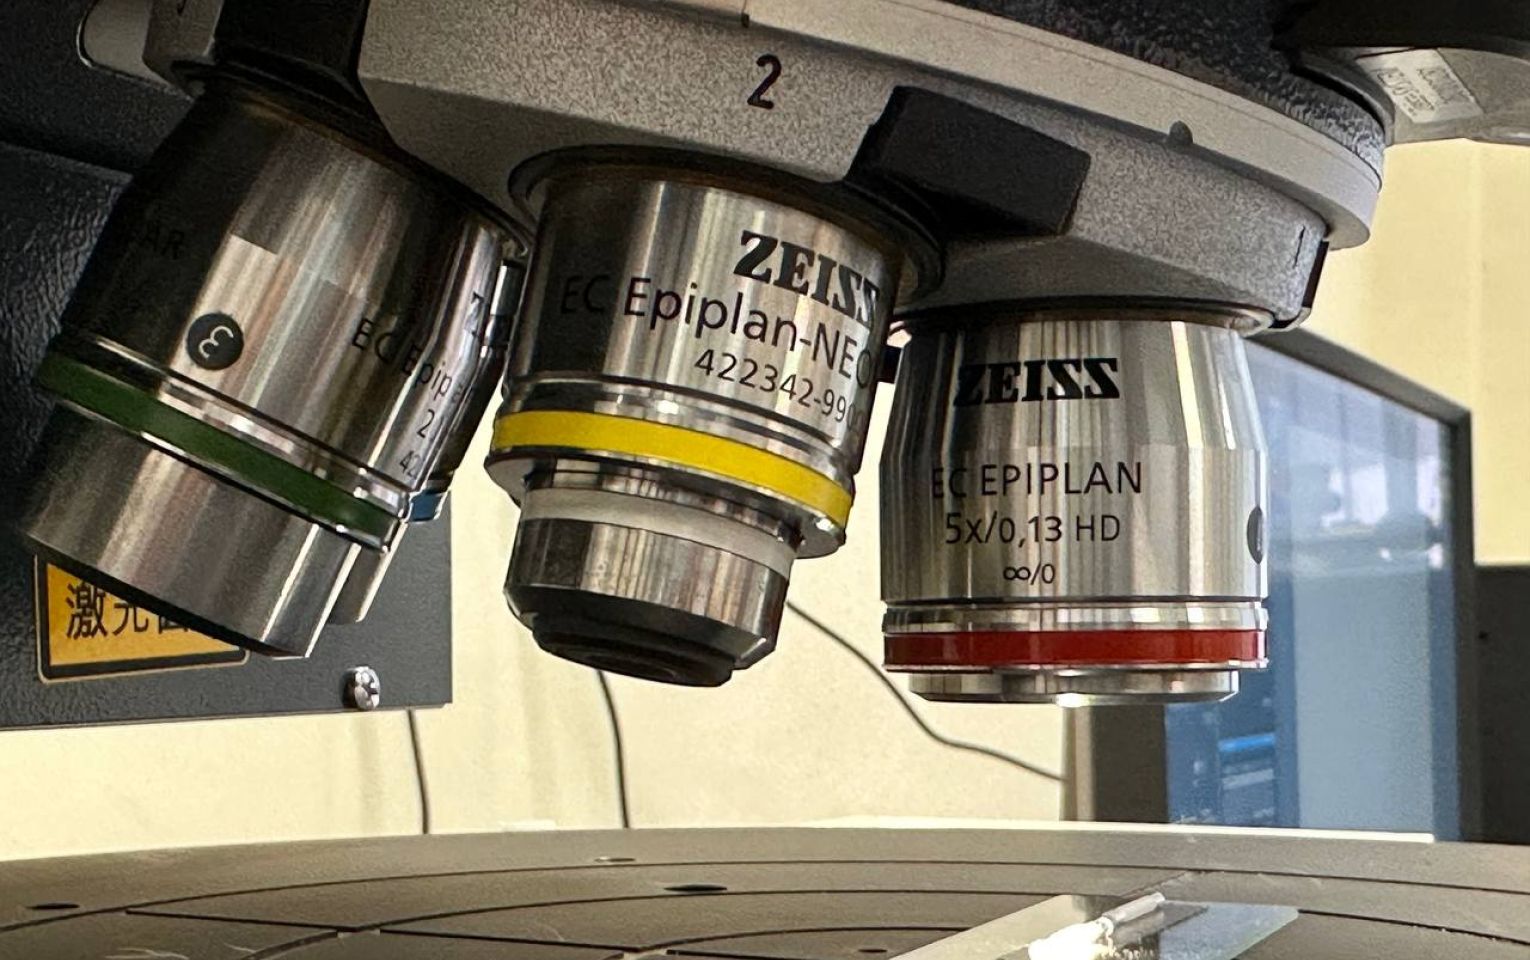
INSTRUMENT NAME & MODEL: Zeiss LSM 700 MAT with Axio Imager.Z2 Vario Confocal Laser Microscope for Materials Science
Confocal microscopy, most frequently confocal laser scanning microscopy (CLSM) or laser scanning confocal microscopy (LSCM), is an optical imaging technique for increasing optical resolution and contrast of a micrograph by means of using a spatial pinhole to block out-of-focus light in image formation. Capturing multiple two-dimensional images at different depths in a sample enables the reconstruction of three-dimensional structures (a process known as optical sectioning) within an object. This technique is used extensively in the scientific and industrial communities and typical applications are in life sciences, semiconductor inspection and materials science.
Light travels through the sample under a conventional microscope as far into the specimen as it can penetrate, while a confocal microscope only focuses a smaller beam of light at one narrow depth level at a time. The CLSM achieves a controlled and highly limited depth of field.
CATEGORY: ELECTRON MICROSCOPY LABORATORY
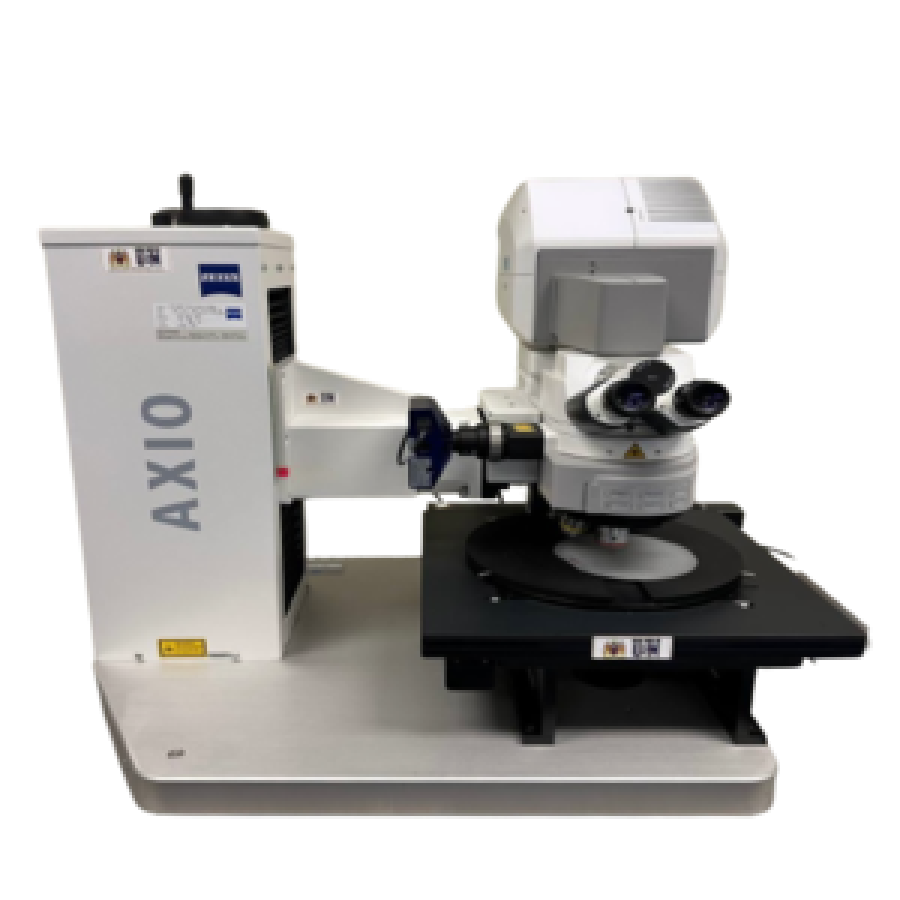
Special Features
- Zeiss unique contrast scanning module system which utilize the advanced (calibrated and linearized) Laser PMT detection with stronger solid-state laser line 405nm class 3b and color CCD camera for 3D image overlay with better laser beam penetration than class 2 laser system.
- Dimension of the stage is 520mm x 400mm with the motorized stage movement of up to 300mm x 300mm. In addition, vacuum wafer holder for 12” wafer are included.
- Zeiss unique Circular DIC is capable of Pseudo 3D in 360° in lateral direction which the images can be overlayed on the quantitative 3D laser confocal image.CDIC provides pseudo 3D for surface morphology or height in excellent contrast, which DIC could not achieve. It provide excellent illumination of different rotation angle in the lateral plane, e.g. if the scratches or morphology is oriented in certain degree, user do no need to rotate the sample but only rotating the CDIC knurl knob.
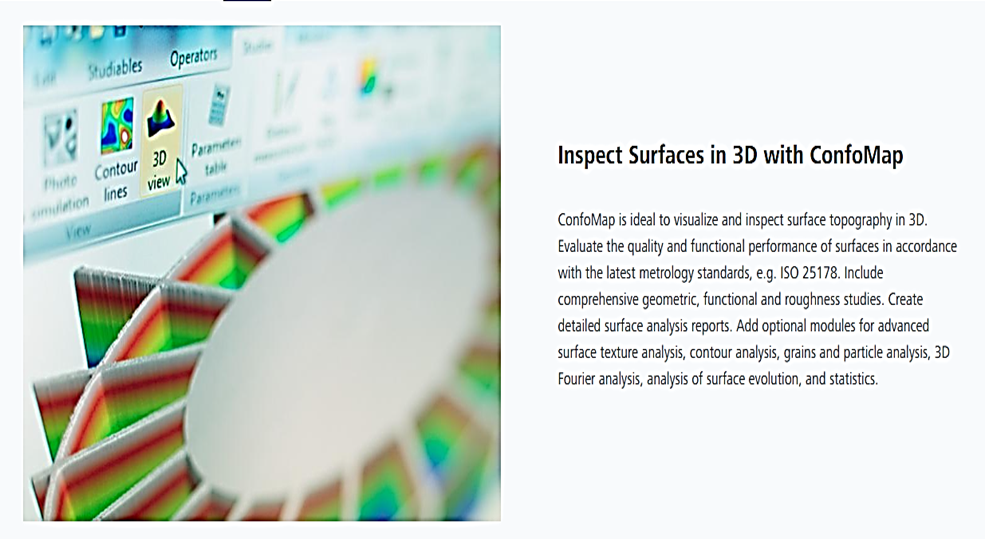
- 3D topographical studies and analysis are included. Roughness measurement is in accordance to the compliance with ISO25178, EUR 15178N, ASME B46.1.

Applications
- Reliable assessment of surface quality: The LSM 700 Confocal Laser Microscope is absolutely ideal for the quality inspection of technical surfaces, e.g. in the tribological analysis of high performance ceramics in the automotive industry or in the precision machining of metal surfaces in the machine and tool-making industry
- Visualization of high aspect ratios without artefacts: In assembly and bonding technology, as well as in micromechanics, structure heights of well over 100 μm are often generated. High aspect ratios and slope angles of nearly 90° (E.G. Solder pad on semiconductor wafer, measurement of height, width and roughness)
Sample Requirements
- Powder
- Solid
- Liquid
Typical Results
LSM Result
